
Accessible ramp requirements in Australia are often treated as a simple gradient question, but a usable ramp depends on much more than slope. The design has to coordinate landings, handrails, edge protection, surface finish, crossfall, drainage, tactile ground surface indicators, door circulation, lighting and the wider accessible path of travel.
For architects, building designers, developers, building surveyors, facility managers and owners, the practical risk is that a ramp can look broadly correct on plan while still being difficult, unsafe or non-compliant in use. This guide gives project teams a structured way to review accessible ramp design before documentation, procurement, construction and handover. It is general information only and is not legal advice, certification advice or project-specific compliance advice.
Why ramp design needs early access review
Ramps are usually introduced to solve a level change, but they quickly become a coordination issue. A ramp may affect building entries, egress widths, door thresholds, drainage falls, balustrades, landscape levels, car park circulation, shopfront glazing, heritage fabric and the location of tactile indicators. Late changes can be expensive because fixing one detail may shift another.
The Australian National Construction Code Volume One Part D4 addresses access for people with disability and includes requirements about which buildings and parts of buildings must be accessible, as well as connected matters such as accessible carparking, signage, tactile ground surface indicators, hearing augmentation and swimming pool access. The NCC also refers to ramps complying with AS 1428.1 in several access contexts. The Disability (Access to Premises – Buildings) Standards and the Disability Discrimination Act sit behind the broader access framework for buildings used by the public, staff, residents or visitors.
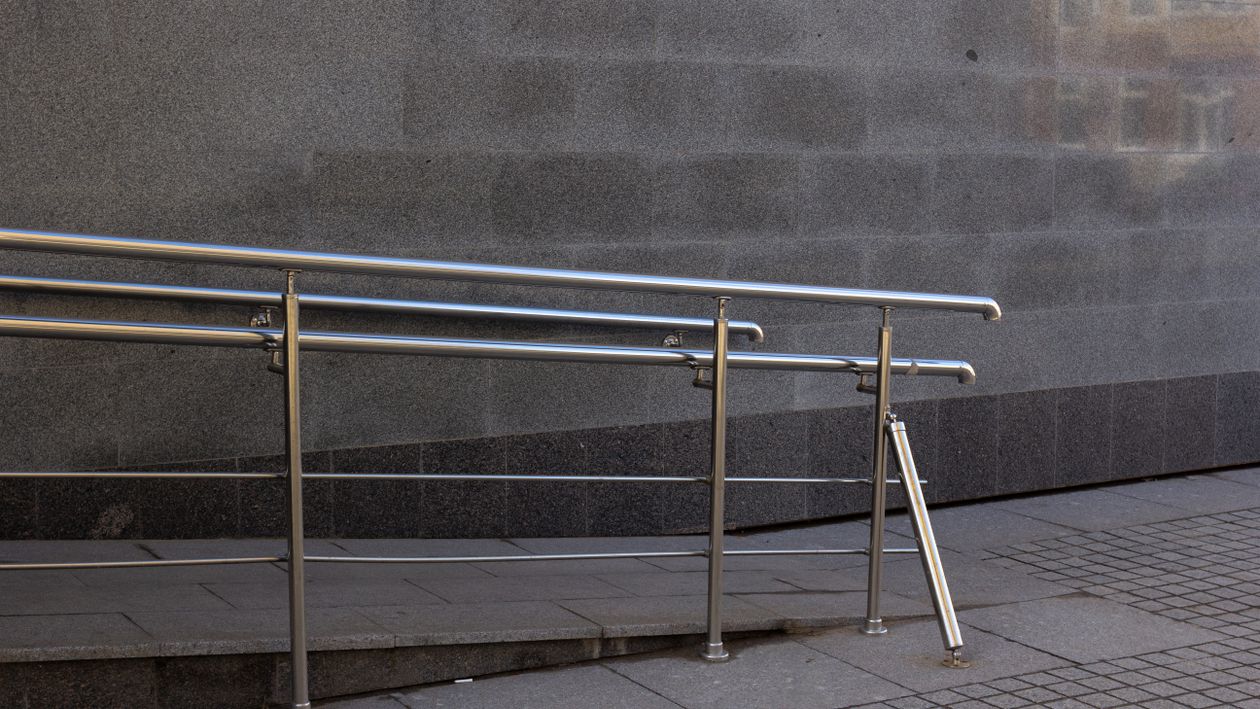
1. Confirm whether a ramp is the right access solution
The first check is strategic: should the level change be handled by a ramp, lift, platform lift, regraded path, threshold detail or a combination of solutions? A ramp may be appropriate for modest level changes, but it can consume significant floor area and create awkward circulation if it is forced into a tight site. In some existing buildings, a lift or redesigned entry sequence may provide a better access outcome than a long ramp squeezed into a poor location.
Before drawing ramp details, map the route from the boundary, car park, drop-off point, principal pedestrian entrance and key internal destinations. If users must take a long detour, pass through a service zone, cross vehicle paths or search for the accessible entrance, the ramp may technically address a level change while still delivering a weak access experience.
2. Check gradient, length and landings together
Gradient is important, but it should not be assessed in isolation. The user experience depends on the relationship between gradient, total rise, length, landing frequency and the effort required to move through the route. A ramp that is technically close to the intended gradient can still be poor if landings are short, obstructed, poorly drained or placed where users cannot pause safely.
Project teams should check the ramp in plan, section and on site. Confirm the actual constructed falls, not only the nominated design gradients. Small construction tolerances, topping slabs, waterproofing build-ups and threshold adjustments can change the result. For refurbishments, measure the existing condition before assuming a ramp detail can be applied cleanly.
3. Design landings as usable spaces, not leftover rectangles
Landings give people a place to pause, turn, open doors, avoid other users and reorient to the route. They are often where ramp designs fail because the landing has to absorb door swings, intercoms, mats, bins, signage, columns, furniture, landscaping or drainage grates.
When reviewing landings, ask what a person using a wheelchair, walking frame, crutches, pram or delivery trolley actually has to do at that point. Can they stop without rolling back? Can they turn without clipping a wall or rail? Can they open a door without backing down the ramp? Is there space for another person to pass or assist? The answer is rarely visible from a generic ramp note; it requires a coordinated plan review.
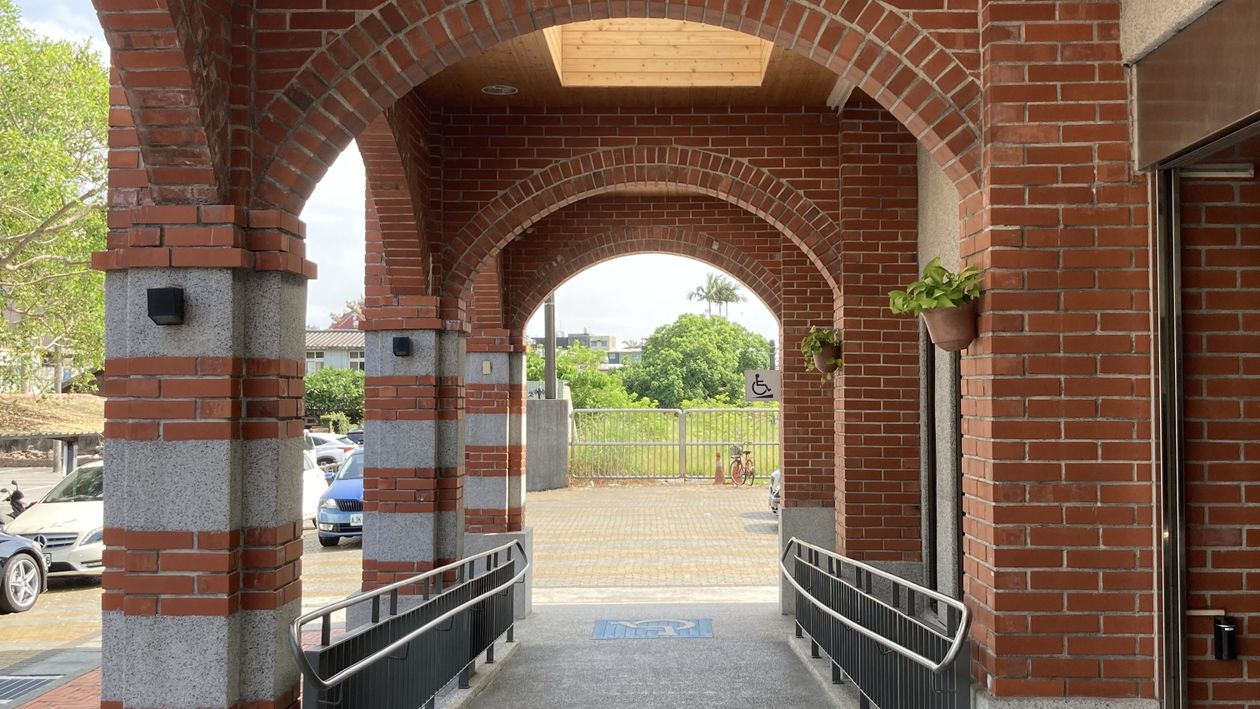
4. Review handrails and edge protection early
Handrails are not an afterthought. Their continuity, height, profile, clearance, terminations, fixing details and relationship to walls or balustrades can affect both usability and construction. A ramp may need support on both sides, and interruptions at landings, doors, corners or structural posts can undermine the intended access outcome.
Edge protection is equally important. Designers should check whether a wheel, walking aid or foot could slip from the ramp edge, especially where the ramp is beside landscaping, a kerb, a drainage channel or a drop. The architectural detail, balustrade shop drawings and landscape levels should be reviewed together rather than separately.
5. Treat surface finish, slip resistance and drainage as access issues
A ramp surface has to perform in real conditions: rain, glare, cleaning, dust, leaves, shade, heavy use and maintenance. A finish that looks refined in a sample can become slippery, reflective, uneven or hard to read once installed. Drainage grates, falls and junctions with adjacent paving can also create trip, wheel or cane-detection problems if they are not carefully coordinated.
Project teams should check that water will not pond on landings, that crossfall is controlled, that joints do not create uncomfortable vibration, and that surface changes do not confuse the route. Where visual contrast matters, coordinate the ramp finish with surrounding walls, floors, nosings, door frames and signage. ASN’s luminance contrast testing work is often relevant when finishes, edges and visual cues need objective review.
6. Coordinate TGSI with the actual approach path
Tactile ground surface indicators should not be dropped onto the plan at the end. They must be coordinated with the ramp’s location, landings, doors, stairs, vehicle interfaces, thresholds and circulation paths. In some settings, TGSI may need to warn of a hazard; in others, the design issue is avoiding confusing or excessive tactile information.
Review the approach from all likely directions. A person may approach from the car park, footpath, lift lobby, reception counter, corridor or outdoor path. If tactile indicators are placed where furniture, queues, door swings or mats will interfere, the installed result may not match the access intent. ASN’s guide to common TGSI installation errors is a useful companion check.
7. Check doors, thresholds and controls at the ramp ends
Many ramp issues are actually door or threshold issues. An external ramp may lead to a door with an awkward latch-side clearance, a high threshold, a heavy door closer, a security reader in the wrong location, or a mat well that disrupts the landing. An internal ramp may end near a fire door, reception queue, display fixture or corridor intersection.
Do not review the ramp as a standalone object. Review the whole sequence: approach, landing, door, hardware, threshold, signage, lighting and the next space. ASN’s access peer reviews can help identify these coordination issues before they become site defects.

8. Measure the finished ramp before handover
Final inspection matters because ramp performance can change during construction. Concrete set-out, paving tolerances, waterproofing, door thresholds, rail fixing, landscaping and drainage details can all shift. A design that looked compliant may not be the same as the installed condition.
A practical handover check should include measurements, photographs and clear notes on any access risks. For existing buildings, an accessibility audit can help owners prioritise ramp upgrades alongside doors, car parking, toilets, signage and paths of travel.
Quick accessible ramp checklist
- Confirm the ramp is the right solution for the level change and user journey.
- Check the accessible path from boundary, car park, entrance and key destinations.
- Review gradient, rise, length and landing layout together.
- Check landings for turning, stopping, door use and passing conflicts.
- Coordinate handrails, returns, clearances, balustrades and edge protection.
- Review surface finish, slip resistance, drainage, glare and maintenance conditions.
- Coordinate TGSI with stairs, hazards, doors and approach paths.
- Measure the finished installation before handover.
When to involve an access consultant
Involve an access consultant early when a ramp affects a principal entrance, a public route, an education, health, aged-care, retail, hospitality or commercial building, a heritage entry, a car park interface, or an existing building with tight levels. Early advice can reduce redesign and help the project team choose a solution that is practical to document, build and maintain.
ASN can assist with accessibility assessments, AS 1428 compliance consulting, design reviews, site inspections and access audits. If a ramp is part of your project’s access strategy, a targeted review before tender or handover is usually much cheaper than rebuilding a poor access route later.